


Hello, friend.
Two things to
share:
Number
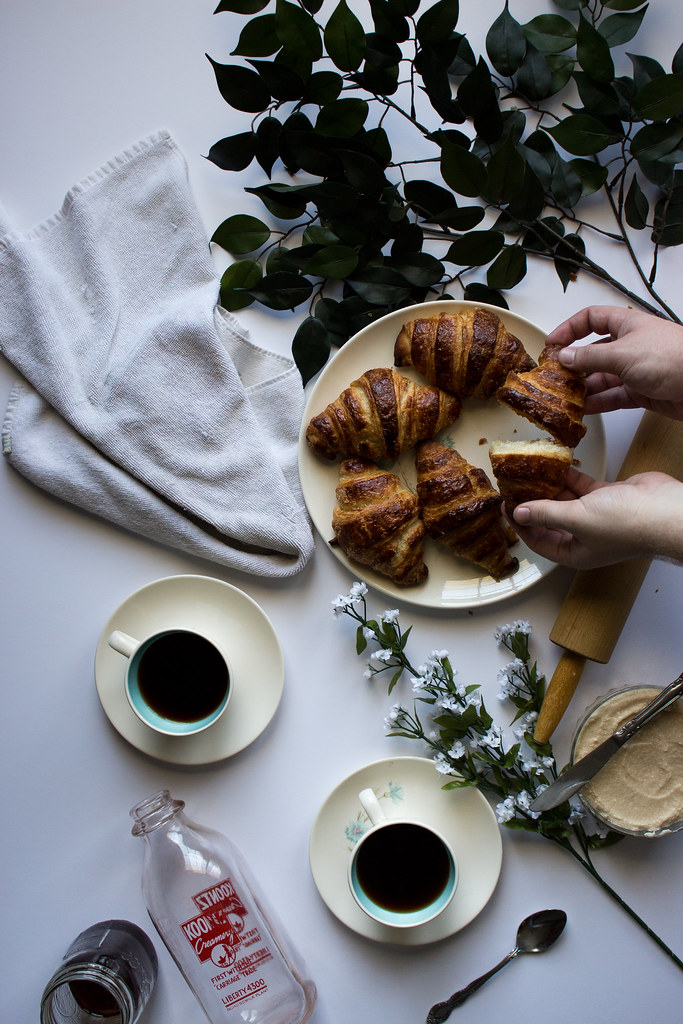
1. I learned to make croissants! Yay! Go me :)
&
Number 2. I just started my first internship!
A few weeks ago, I
accepted a spring internship as one of the product photographers for Rosalynne Love, a growing graphic design
& apparel company based out of the New Orleans-area. I found out about the
position through a Facebook post by her sister Alisa (who is a local photographer/friend!) I thought it would be a unique
and exciting opportunity, so I sent in an application and hoped for the best. A
few days later I got an email from Ros saying she wanted to have a Skype
interview. Just minutes after starting the interview, I knew I was going to
love working for her. Ros has such a drive and creative spirit about her that I
saw within myself. Her talent mixed with her enthusiasm had me sold, so when I
was offered the position, I immediately said yes!
From now until
May, I’ll be photographing some flatlays and overhead photography featuring the
products of Rosalynne Love. Her
designs are seriously amazing. I love everything about her style! Make sure to
follow her Instagram, like, and fall in love with her work as much as I have.


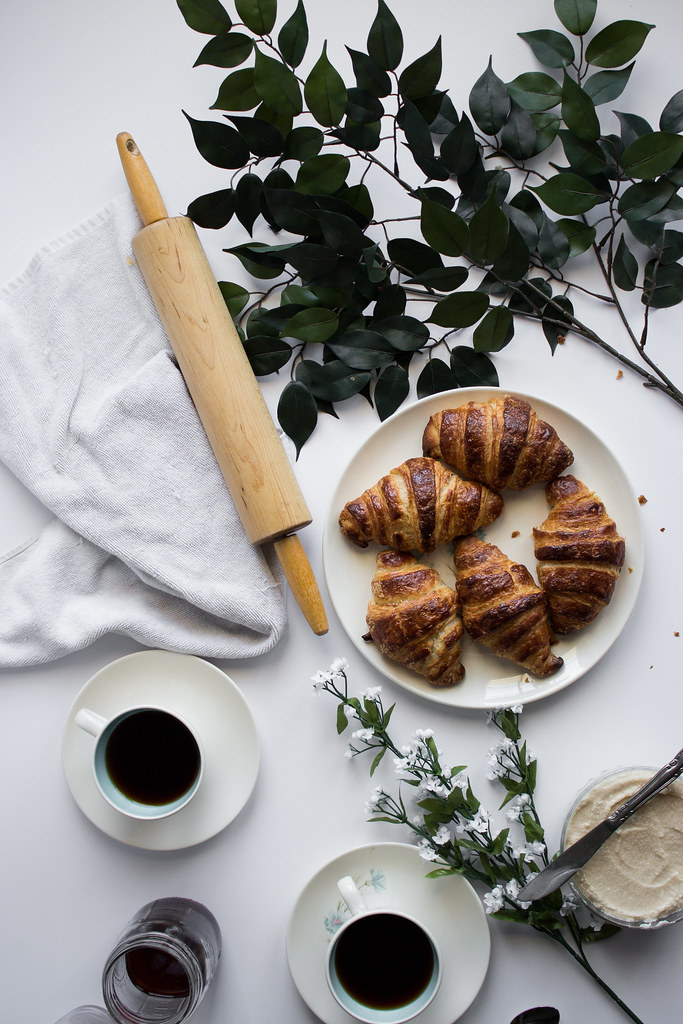


It’s been spring
break all this week! I couldn’t be happier. I was in definite need of a break
to relax and catch up on some blogging. Knowing I had to do some shots for Ros,
I decided to pull up my big-boy baking pants and make croissants from scratch.
The thing about real, flaky, buttery croissants is that you have to be willing
to put in the time. I started Monday night around 8pm and didn’t get done until
midnight, and that was just the first part!! From forming the dough, layering
the butter, folding the dough, rolling it out, letting it rest in the fridge,
and repeating the process three more times can make for a tired baker. Though I
preserved and kept at it. Though once these little bundles of buttery joy came
out of the oven perfectly browned and steaming, I may have out a tear of joy. I
had struck bakery gold.
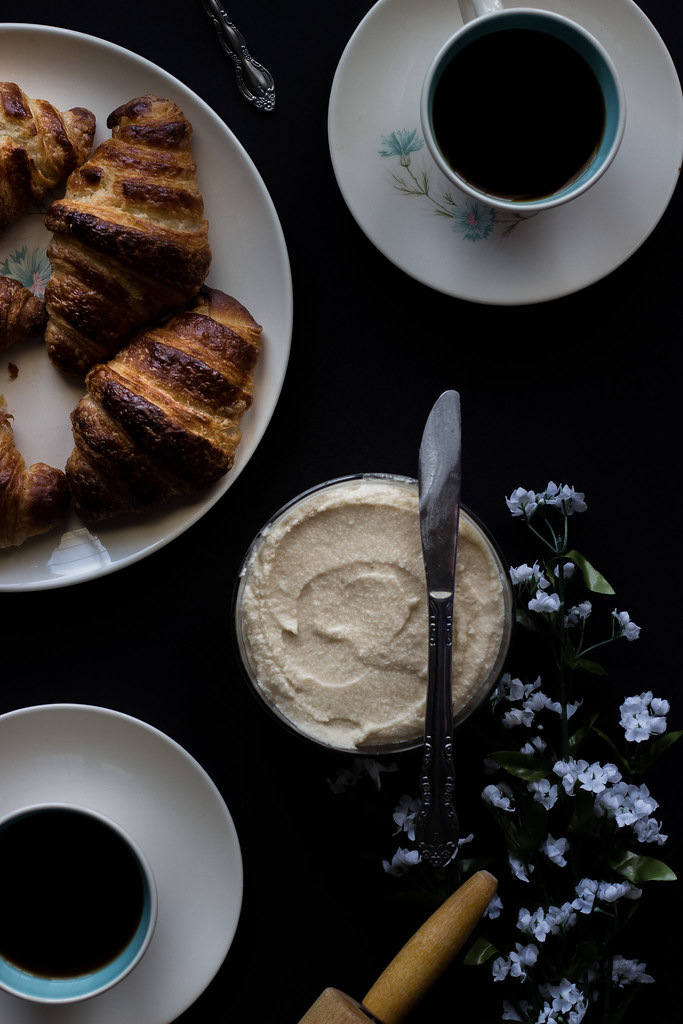
The croissants
were flaky and crispy on the outside yet warm and soft on the inside. Pull it
apart, and a wave of steam comes billowing up revealing layers upon layers of
gorgeous buttery goodness. I decided to develop my own butter recipe to be
spread on top, so I add some cold brew coffee. The coffee with the sweetened
butter created a match made in decadent heaven. Spread over each bite of the
croissants elevated the experience even more. For the first time in quite a
while, I had a literal foodgasm. The literal definition of “food porn” was
happening in my mouth. So good. This isn’t your “under 30 minutes” kind of
recipe. Croissants take time and patience. Be strong and enjoy the process!


Classic Croissants with Cold Brew Coffee Butter
Croissant recipe from Adventures in Cooking
Ingredients
Croissants
4 cups All-Purpose
Flour
1 ¼ cup unsalted Butter,
cold (very!)
½ cup + 2
tablespoons Cold Water
½ cup + 2
tablespoons Cold Whole Milk
¼ cup + 2
tablespoons sugar
3 tablespoons unsalted
Butter, softened
1 tablespoon + ½
teaspoon Instant Yeast
2 ¼ teaspoons salt
1 egg
1 teaspoon water
Cold
Brew Coffee Butter
½ cup butter,
softened
2 ½ cups
confectioners’ sugar
3 tablespoons cold
brew coffee
1 tablespoon maple
syrup
Additional
tools
Tape measurer
Directions
Croissants - DAY ONE
Mix together the
flour, water, milk, sugar, yeast, salt, and softened butter in a stand mixer
with a dough hook attachment on low speed for two to three minutes. Raise the
speed to medium and mix for another two to three minutes until the dough begins
to come together into one mass and is no longer sticking to the side of the
bowl. Place the dough on a lightly floured plate, wrap well with plastic wrap,
and allow to rest in the refrigerator for 2 hours.
While the dough is
resting, lay a piece of parchment paper down. Cut the chilled butter into ½
inch thick sliced and arrange them in a 5 to 6 inch square on the paper. Place
another sheet over the butter and being pounding the butter with a rolling pin
with gentle strokes at first, then pounding harder as the butter pieces start
to stick together and form into one mass. Pound until the butter reaches 7 ½
inches wide and long.
Peel back the top
layer of parchment paper and trim the edges of the butter square so they are
straight. Place the trimmings in the center of the square, place the parchment
paper over the butter, and begin rolling and pounding the trimmings gently into
the center of the square until flat. Place the butter sheet on a flat surface
inside the refrigerator.
Once the dough has rested, take it out of the
fridge and place it on a lightly floured surface. Roll the dough into a 10 ½
inch square, brush off the excess flour. Take the butter square out of the
fridge, remove the parchment paper, and place the butter in the center of the
dough square so that the butter’s corners are centered along the widths of the
dough square. Gently pull each corner of the dough up and wrap it over the
butter and repeat with all the corners. Press the edges together to create a
seal that keeps the butter inside of the dough. Congrats! You have just
swaddled your butter.
Light flour the top and bottom of the dough and begin rolling it out in order to elongate it, remembering to keep the dough straight as you roll. Roll the dough out until it reaches the dimensions of 8 x 24 inches, then pick up one end of the dough and fold it over the dough leaving 1/3 of the dough still exposed. Fold the exposed dough and fold it over the previously folded flap. Cover the dough with plastic wrap and place it in the freezer for 20 minutes in order for the dough to relax.
Repeat the
rolling, folding, and relaxing process again, but this time rolling in the
direction of the two open ends. Cover the dough with plastic wrap and place it
in the freezer for 20 minutes in order for the dough to relax. Repeat this
process a third time, then cover in plastic wrap and place folded dough in the
refrigerator to relax for 6 hours or overnight. Note* overnight is most
recommended.
DAY 2
Take the dough out
of the refrigerator and lightly flour it on both sides. Place it on a lightly
floured work surface and begin rolling the dough out by pressing down firmly to
help invigorate and lengthen it. Roll dough out until it reaches 8 x 44 inches.
Yes, this sounds loco crazy, but trust me, it’s possible!
Once the dough is about 8 x 44 inches, trim off the edges so they are completely straight.
Make sure the dough is roughly 40 inches in length. If not, roll until this length is reached.
Once the dough is about 8 x 44 inches, trim off the edges so they are completely straight.
Make sure the dough is roughly 40 inches in length. If not, roll until this length is reached.
Lay a tape measure
along the top length edge of the dough and make a small knick on the top of the
dough every 5 inches, you should have 7 marks when you’re done. Lucky number 7!
Move the tape measure to the bottom length edge of the dough and make a small
knick on the bottom edge of the dough at 2 ½ inches from the end corner of the
dough. Make knicks at 5-inch intervals from this point along the bottom edge of
the dough.
Place a measuring
tape or ruler at the top corner of the dough that crosses down to the first cut
on the bottom edge of the dough. Using a pizza cutter or sharp knife, cut along
this line. Repeat this process with the next set of marks until you reach the
other end of the dough. Now flip the angle of the tape measure/ruler to connect
the other top corner with the nearest bottom knick and start cutting along this
line to create a triangle. Repeat with the rest of the knicks until the dough
has been cut into 15 triangles and you have a small extra piece of dough at
each end. You should have 13 triangular pieces of dough.
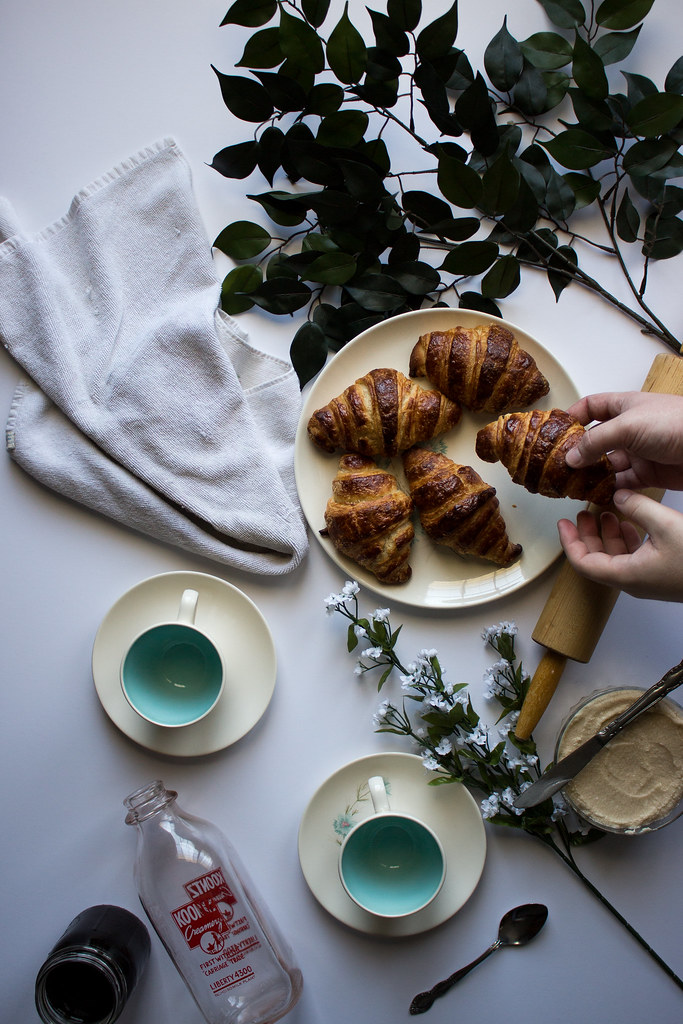
Begin to roll the
dough towards the pointy end, flaring your fingers out as you roll the dough to
help widen the croissant. Press firmly enough that the layers stick together,
but not so hard that they start to smear into each other. You want beautiful,
individual layers, not one congealed mass of sadness.
Stop rolling when
the pointy end is directly underneath the croissant and bring the ends in
towards the center and press the ends together. Place the croissants on a
baking sheet lined with parchment paper, and repeat until all of the croissants
have been assembled. I had 2 baking sheets and placed 6 croissants on one and 7
on the other. The croissants will rise and puff out, so give them room to grow!
In a small bowl, whisk the egg and water just until combined. Brush the egg wash over each of the croissants (save egg wash for later), cover with plastic wrap (and an optional tea towel), and place the pans in a non-windy location where the temperature is between 70-80 degrees Fahrenheit and allow them to sit for 1 and 1/2 to 2 hours.
Preheat the oven
to 400 degrees F. Once the croissants have proofed, lightly brush them with the
egg wash again. Place one sheet in the oven and make for 6-9 minutes, turning
the pan halfway through and baking for an additional 6-9 minutes, or until the
tops are a deep golden brown and the bottoms are bubbly. Note* keep a watchful
eye on these croissants as they bake. They brown up quickly and just a handful
of missed seconds can leave you with burned croissants. When done, remove the
pans from the oven and allow the croissants to cool on the pans.
For the Cold Brew Coffee Butter. In a medium mixing bowl, beat the soften
butter until light and fluffy. Add in the confectioners’ sugar and mix at a low
speed at first, then increasing speed until well incorporated. Mix in the cold
brew coffee and maple syrup until well combined. Serve immediately or cover and
store in the fridge.
{click here for the printable recipe}
{click here for the printable recipe}